
Solar power basics for an off-grid cabin

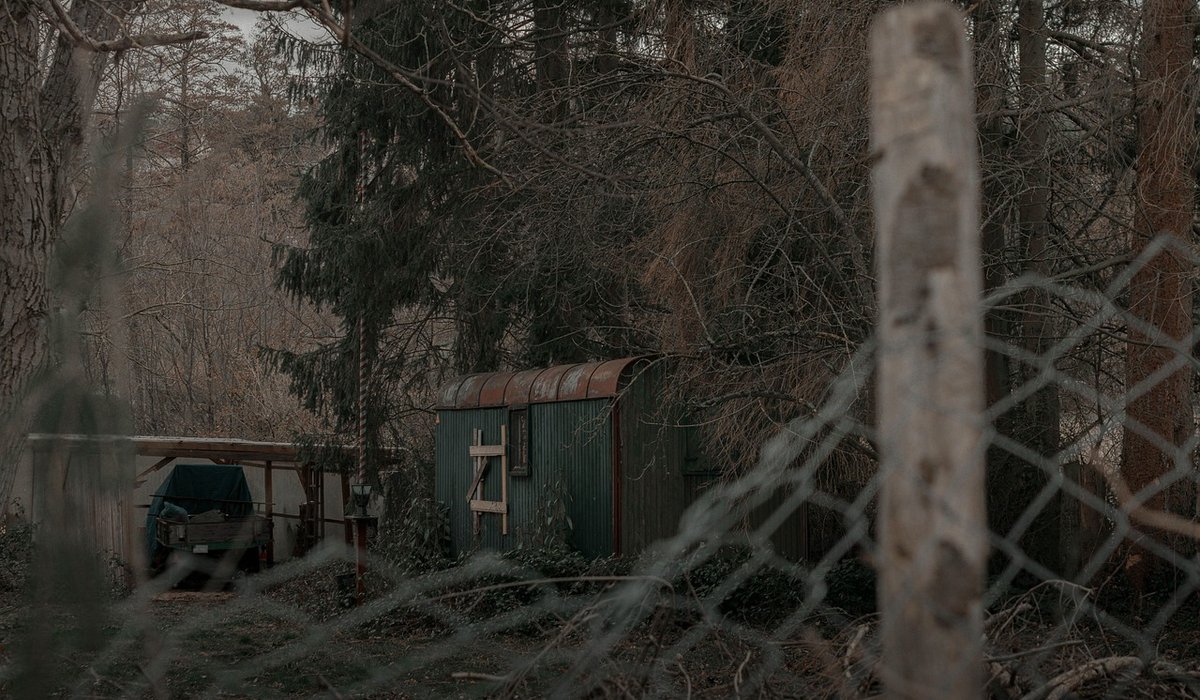
Living off-grid in a UK cabin, garden room or glamping pod is a joy, but British solar is not Saharan solar. You are designing for grey skies, short winter days and weeks of drizzle. Get the basics right and your system will keep the lights on, the phone charged and the fridge cool. Here are the four main parts — panels, charge controller, batteries and inverter — with practical UK sizing advice.
Start with an honest energy audit
Before buying anything, work out how much electricity you actually need. Off-grid living is a game of watt-hours, not watts. A 12V LED light might use 3W, but run it for four hours and that is 12Wh. Add up every load for a typical day, then add 20–30% for inverter losses and dull weather.
- Lighting: five 3W LEDs for four hours = 60Wh
- Phone and laptop charging: 50Wh
- 12V compressor fridge: 200–400Wh in summer
- Water pump for a short shower: 100Wh
If that totals 500Wh per day, you have your target. In a UK winter, a 100W panel might produce only 10–20Wh on a dark December day. Always design for the worst month you plan to use the cabin.
Solar panels: sizing and mounting for UK light
Monocrystalline panels are the usual choice for off-grid because they perform slightly better in low light and take up less space. For a remote cabin, ground-mounted panels are easier to clear of snow and adjust for winter. In the UK, fixed panels should face due south at a tilt of 35–40 degrees for year-round performance. If you only use the cabin in winter, tilt them to 60 degrees to catch the low sun.
To size the array, divide your daily watt-hours by expected peak sun hours, then add 30% for system losses. In winter, assume just 1–1.5 peak sun hours per day in most of the UK. So a 500Wh daily load needs at least 500 / 1.5 = 333W of panels, plus losses, making 450W more realistic. In summer, 4–5 peak sun hours are common. If panels are more than 10 metres from the controller, use 6mm² cable to keep voltage drop below 3%. Series wiring reduces current for long runs; parallel wiring helps with shading.
Charge controllers: PWM or MPPT?
The charge controller sits between panels and battery. It stops overcharging and protects against reverse current at night. PWM controllers are cheap but dump excess panel voltage, wasting power. MPPT controllers convert that extra voltage into extra charging current, typically gaining 20–30% more energy in UK conditions. For any serious off-grid cabin, MPPT is worth the extra cost.
Size the controller by dividing panel watts by battery voltage, then add 25%. For a 450W array and a 12V battery: 450 / 12 = 37.5A, so choose a 50A MPPT controller. For a 24V battery, that same array needs only 25A, so a 30A controller. Check the controller’s maximum input voltage — cold mornings can push panel voltage higher than the label says.
Batteries: the heart of your off-grid cabin
Lead-acid batteries (flooded, AGM or gel) are cheap and robust, but you can only use about 50% of their capacity without shortening their life. They also need ventilation. Lithium iron phosphate (LiFePO4) batteries cost more upfront but allow 80–90% depth of discharge, last longer and need no maintenance. For a garden room or glamping pod where space is tight, lithium is often the better long-term choice.
To size the bank, multiply daily watt-hours by days of autonomy, divide by depth of discharge and system voltage. For 500Wh per day, two days of autonomy and 50% DoD on a 12V system: 500 x 2 / 0.5 / 12 = 167Ah. A 200Ah lead-acid bank would work. With lithium at 80% DoD: 500 x 2 / 0.8 / 12 = 104Ah, so a 100Ah lithium battery. In the UK, three to four days of autonomy is wise for a remote cabin. Keep batteries above 5°C for lead-acid and never charge lithium below 0°C — insulate the battery box.
Inverter sizing: matching your loads
If your cabin runs on 12V or 24V DC — lights, phone chargers, a DC fridge — you may not need an inverter at all. But for 240V appliances like a laptop charger, small TV or power tools, you need a pure sine wave inverter. Modified sine wave inverters are cheaper but can buzz, overheat or damage sensitive electronics.
Size the inverter for continuous watts, then check surge watts. A small fridge might draw 100W continuously but 500W for a second when the compressor starts. Add up everything you might run at once, then add 20% headroom. A 1000W inverter is a sensible starting point for most small cabins. Remember that inverters draw idle power — often 0.5–1A at 12V, or 12–24Wh per day just being switched on. Turn it off when not needed. For larger cabins with pumps or kettles, consider a 24V or 48V system to keep currents manageable.
Safety, fuses and monitoring
A safe off-grid system needs fuses or circuit breakers on every positive cable close to the battery, plus a DC isolator for the panels. Use cable sized for the current and voltage drop, and keep all connections tight — loose terminals cause heat and fires. Ventilate lead-acid batteries to the outside, and fit a shunt-based battery monitor. Voltage alone tells you very little about state of charge under load. A good monitor shows amps in, amps out and remaining capacity, so you learn how weather and habits affect your system. Start modest, monitor for a season, then expand. Off-grid solar is not plug-and-play, but with these basics you can build a reliable supply for your cabin, garden room or glamping pod — even when the British sky is doing its worst.

Joeby Ragpa
This template is so awesome. I didn’t expect so many features inside. E-commerce pages are very useful, you can launch your online store in few seconds. I will rate 5 stars.
ReplyAlexander Samokhin
This template is so awesome. I didn’t expect so many features inside. E-commerce pages are very useful, you can launch your online store in few seconds. I will rate 5 stars.
ReplyChris Root
This template is so awesome. I didn’t expect so many features inside. E-commerce pages are very useful, you can launch your online store in few seconds. I will rate 5 stars.
Reply